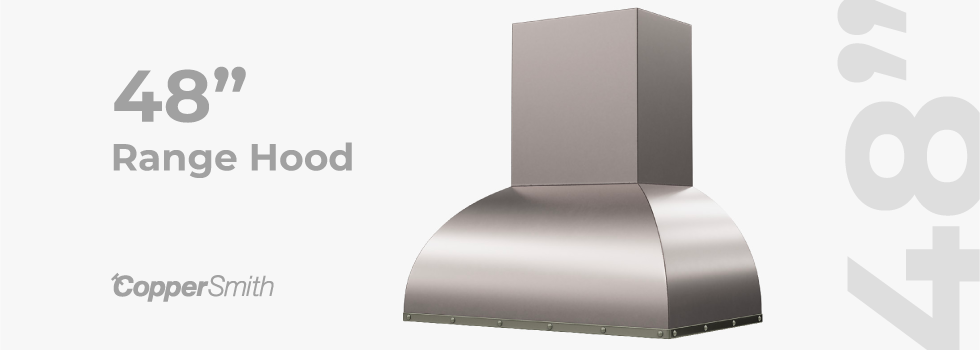
A 48” range hood is the best way to take your kitchen project to the next level. Whether it’s solely a kitchen project as a complete remodel or a brand-new construction project from the ground up, if you want a kitchen that screams luxury and style, a 48” range hood from CopperSmith is the best investment you could make.
All the world’s most well-known designers, contractors, and architects rely on CopperSmith for high-end kitchen and bathroom hardware when they’re putting the finishing touches on their most important projects. At the same time, larger construction jobs like the ones mentioned above are a shoo-in for CopperSmith products.
But did you know that installing a standalone 48” range hood could transform your kitchen without upgrading all your appliances, installing a new floor, and everything else that comes with a complete renovation?
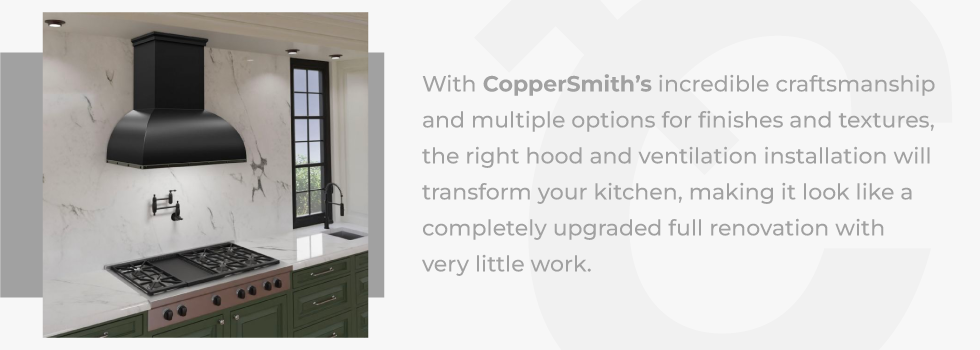
A 48” range hood is large enough to command all the attention in your kitchen when you have one installed. With CopperSmith’s incredible craftsmanship and multiple options for finishes and textures, the right hood and ventilation installation will transform your kitchen, making it look like a completely upgraded full renovation with very little work.
If you’ve never installed a 48” range hood, the process is much easier than you think. In the following section, we’ll outline the process of installing a CopperSmith 48” range hood to prove how easily you can make a million-dollar upgrade to your kitchen with very minimal effort.
How Easy Is 48” Range Hood Installation?
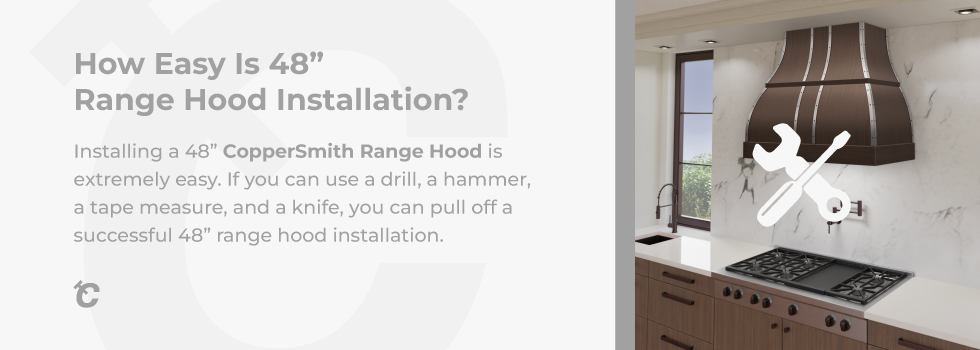
Installing a 48” CopperSmith Range Hood is extremely easy. Just how easy depends on whether you had a range hood installed previously. If you didn’t, is there already a ventilation system?
Assuming you had no range hood previously installed OR ventilation system and had to start the project completely from scratch, the average homeowner could complete the installation with a few simple household tools and no experience. If you can use a drill, a hammer, a tape measure, and a knife, you can pull off a successful 48” range hood installation.
Before we get into the installation details, understanding the specifics of a CopperSmith 48” Range Hood is essential so you can match your current range top to ensure you’ve not only selected the model you want but the model you need, based on size and BTUs.
CopperSmith 48” Range Hood Specs and Features
The CopperSmith 48” Range Hood has dozens of configurations to match any kitchen style. There are also multiple installation options to match your stove, whether you have an island, traditional style, or any other cooktop form.
48” Range Hood Materials
The material used to craft CopperSmith 48” range hoods and other sizes comes in various finishes to match the style of the rest of your kitchen. That’s the beauty of our 48” Coppersmith Range Hoods.
If you’re using a new range hood to upgrade the look of your kitchen without actually making a complete renovation, the number of existing options gives you enough different looks to match almost any style.
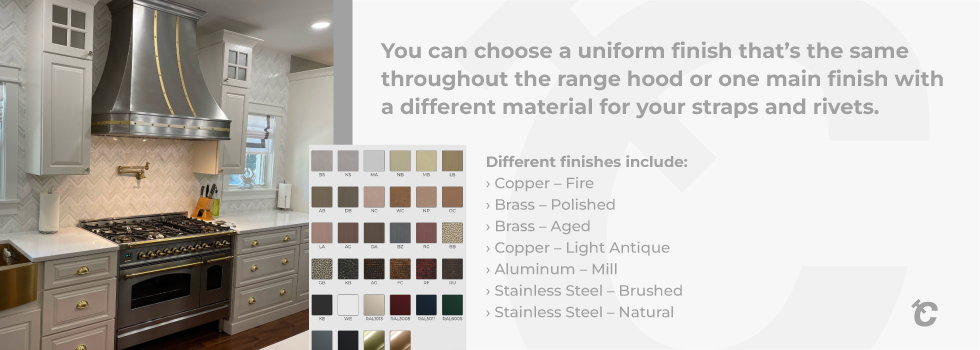
Choose from the following materials:
- Copper
- Stainless Steel
- Mill Finish
- And more.
48” Range Hood Finish
The finish of your 48” range hood is what makes or breaks the overall theme and visual dynamics of the kitchen. When you’re purchasing a 48” range hood as a single upgrade to boost your entire kitchen, the finish is what you want to pay attention to when matching you’re already-existing appliances and countertops.
You can choose a uniform finish that’s the same throughout the range hood or one main finish with a different material for your straps and rivets.
Different finishes include:
- Copper – Fire
- Brass – Polished
- Brass – Aged
- Copper – Light Antique
- Aluminum – Mill
- Stainless Steel – Brushed
- Stainless Steel – Natural
- And many more
48” Range Hood Ventilation Power
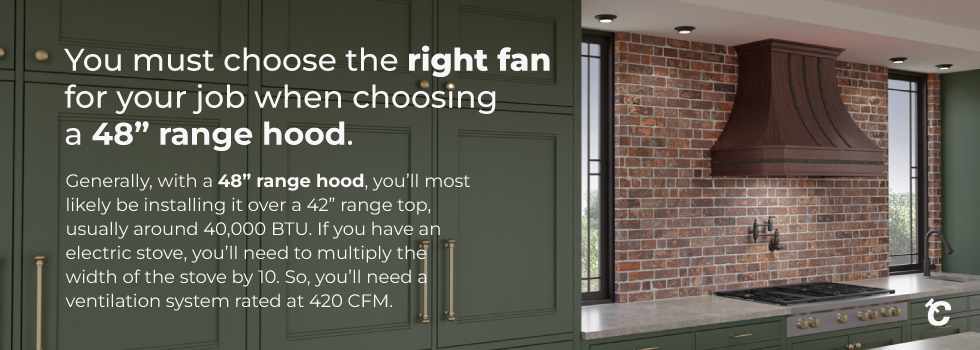
The last important decision regarding the technical components of your 48” range hood is the ventilation system. You must choose a ventilation system rated at the right CFM to operate efficiently in your kitchen.
CFM is the cubic feet per minute. This describes the power of the movement of the air through the space in your kitchen.
The CFM should be an optimal power for the area you’re installing it. If it’s not matched correctly, you can have too much or too little ventilation power. It should be just enough to remove heat, air, smoke, odor, steam, and debris without being powerful enough to affect the heat of your cooking and your finished product after you’re preparing a meal.
Generally, with a 48” range hood, you’ll most likely be installing it over a 42” range top, usually around 40,000 BTU. If you have an electric stove, you’ll need to multiply the width of the stove by 10. So, you’ll need a ventilation system rated at 420 CFM.
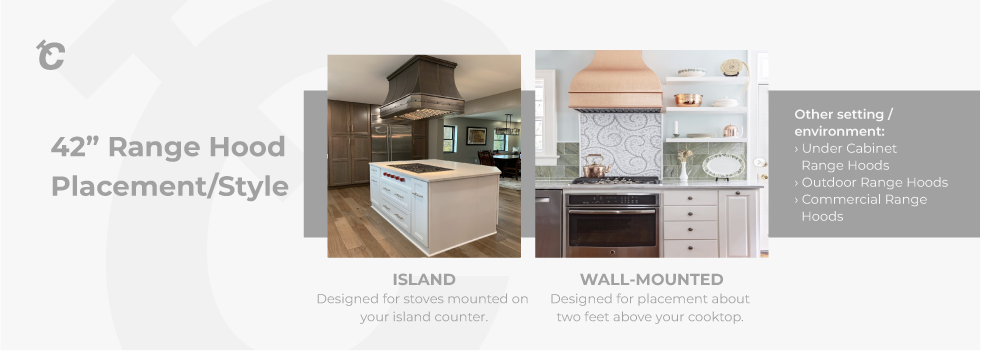
Setting/Environment
You’ll also have the option of selecting the setting of your 48” range hood. This dictates the environment where you’ll be installing the range hood. With CopperSmith hoods, you can choose from the following options:
Wall Mount Range Hood
A wall mount range hood is one of the most prevalent, outstanding models you can select. These are common in residential kitchens on stoves mounted between cabinets. This 48” range hood must be at least two feet above your stovetop.
Island Mount Range Hood
An island mount 48” range hood is made for stoves mounted on an island counter in the middle of your kitchen. These range hoods must be suspended from the ceiling. Because of more wide-open space, these hoods typically require a more robust ventilation system.
Under Cabinet Range Hoods
These 48” range hoods are installed on the bottom of a cabinet that sits above your stovetop. With one of these installed, you’ll still have full use of the inside of your cabinets.
Outdoor Range Hoods
Just because you’re cooking outdoors doesn’t mean the area can’t benefit from a range hood. These designs are installed higher than others to obtain maximum airflow and control the flow of smoke from the grill to the hood.
Commercial Range Hoods
CopperSmith also manufactures 48” commercial range hoods for installation in bars, restaurants, and other professional kitchens.
Once you’ve finalized all of the essential characteristics of your CopperSmith 48” Range Hood, you can begin preparing for installation.
Installing Your 48” CopperSmith Range Hood
For this example, we’ll provide wall-mounted installation instructions, primarily because this is the most common residential installation.
Depending on whether you had a ventilation system installed before purchasing your new one, you’ll need to install ductwork and cut out a hole for the fan and ventilation. If you had ventilation prior, you could skip those steps.
1. Remove Old Hood
Remove the old range hood by unplugging any wiring and lighting. Unscrew all the pieces fastening them to the wall. Lift off the screws and remove them from the wall.
2. Shut Off Breaker
Flip the breaker in the main box that supplies power to your stove and hood area to be safe. You’ll need to install the wiring for the ventilation system, so this is mandatory.
3. Prepare to Cut Your Ventilation
You can skip this section if you’re replacing an old ventilation system and range hood. Otherwise, you’ll need to grab the template that came with the ventilation system. The template is the pattern you use to mark the wall or cabinet where you’re going to cut out the hole for your ductwork. Use a laser level, line the template up with the middle of the wall, and tape it off. The cutout in your wall or cabinet needs to match the knockout in your 48” range hood exactly. You can drill for your electrical wiring at this point, too, since everything is exposed. If you’re unfamiliar with drilling for electrical work, call an electrician for this step.
4. Cut Your Vent
Drill or cut out your vent and ductwork. A drill or wallboard saw should work fine to penetrate the drywall to get the shape of your template cutout. If no studs or piping are behind the drywall, your job just got much easier.
5. Options for Obstacles
If you have piping or studs in your way, you’ll need to rethink your strategy. You’ll have three steps here. Start by cutting a larger rectangle into the drywall so you can see what you’re working with and can move freely.
- Reroute and re-solder your pipe, so your opening is free.
- Drill 1 x 3 cleats to the top and bottom of the wall to support your wall patch. This gives the wallboard more support.
- Mud the new patch to cover up the hole completely. When it’s dry, use the original cutout for your template and repeat the same steps as before. This time, you’ll have no obstacles.
6. Ductwork
Depending on the distance between your vent and the outside of the wall of your home, you’ll need the appropriate length of ductwork to reach outside safely. Your vent cannot end inside your wall. The ductwork must carry the exhaust all the way outdoors.
7. Mark Your Holes
Get ready to install your 48” range hood by having a friend hold the hood while you mark the holes for your screws.
8. Mounting
Drill your mounting brackets or screws into your wall or cabinet. Since mounting the hood on the wall, drill the screws in the entire length. If your wall is tiled, use a nail set and hammer and tap small holes into your tile. This ensures you won’t damage the tiles as you drill your mounting brackets into the wall.
9. Double-Check
Double-check and make sure everything lines up correctly. If you need to adjust, realign the hood before you tighten your final screws.
10. Connect
Connect your wires and run the cable inside the wall through the cable holder on the hood. Your fans and lights have black and white wires that you must attach. Connect the two black wires inside the hood to the ONE black wire inside the wall. Do the same with the white wires. Choose a screw on the range hood as a grounding screw and attach the green grounding wire.
11. Test
Plug your 48” range hood in and test it out. If it works properly, place the filters and attach any grease guards. Tighten the screws on the hood cover, and you’re done.
For more information on our 48” range hoods and more, check out the range hood section of CopperSmith’s website.

